 This post describes how I started tracking my expenses and what tricks I used. If you’d like to read more about the task itself, have a look at Step 3: Track your Expenses where I describe the procedure in more detail.
Some of the links below are affiliate links, meaning that – at no additional cost to you – I will earn a commission if you click through and make a purchase.
After making some initial progress towards Financial Independence and after having remained on level 2 of the process for a while trying to identify my goals of this mission, I am ready to move on to the next level of this journey: starting the third step and registering all of my expenses.
I know that having a list of all my expenses will be an invaluable resource during many stages of this mission, as many of the steps will rely on a detailed insight of what comes in and what goes out every month, so I am totally committed to start keeping track of everything that happens with my money.
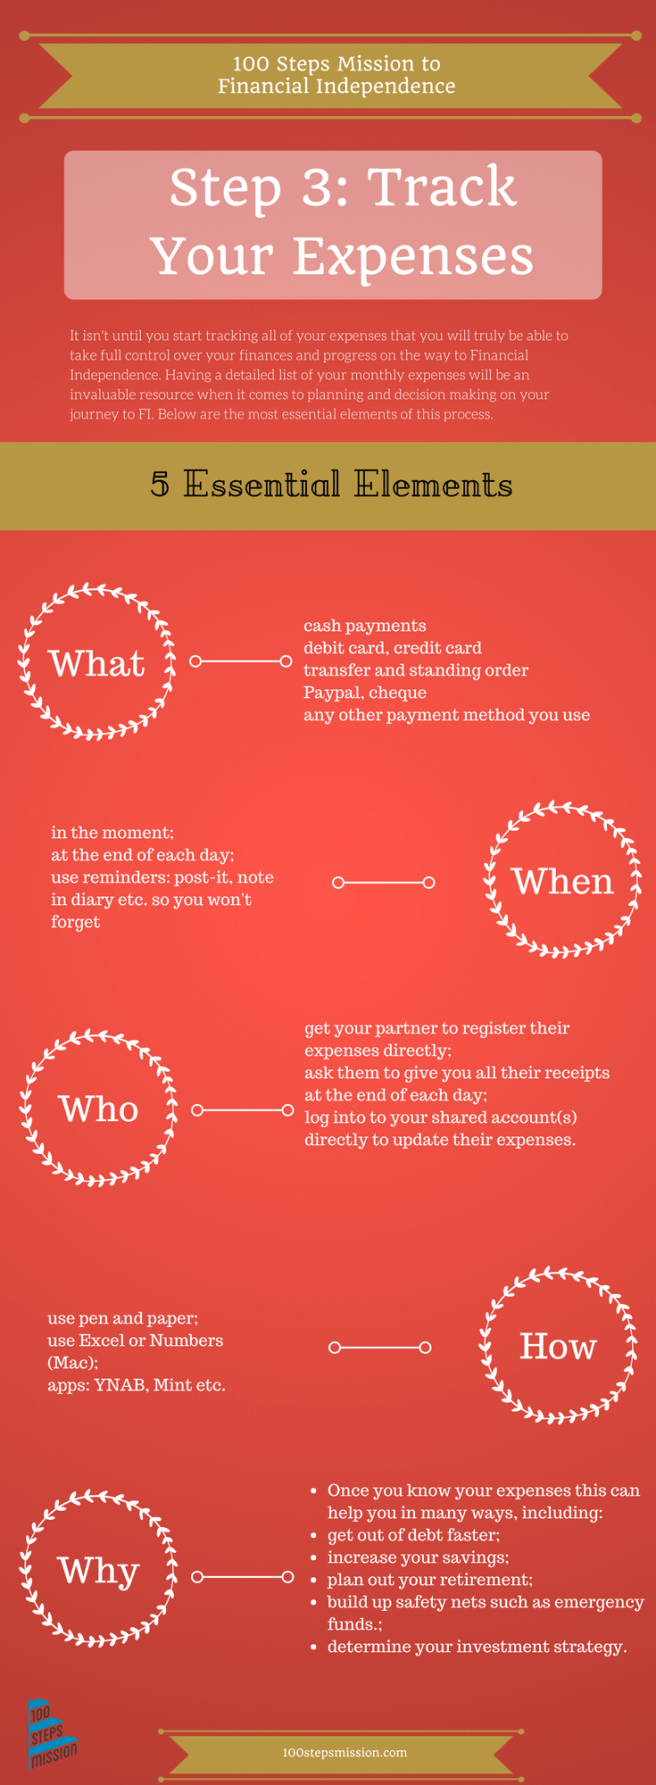
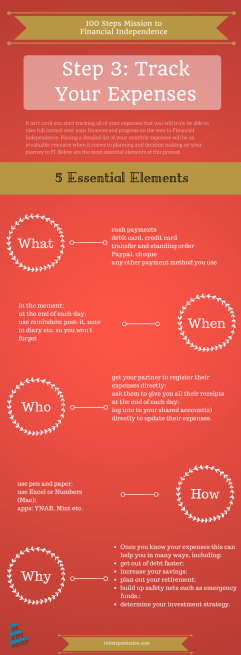
The infographic on the right tells you more about which factors to consider when registering your expenses.
What
I’ll be registering all my cash, credit card, debit card, transfers, standing orders and other payments from my checkings and savings accounts as well as any payments from the joints accounts I have with my husband.
When
I am going to try to register any expenses in the moment as much as possible, but of course I know there will be times I’ll forget and I have certain payments automated, so I’ve decided to take 5 minutes at the end of each day to check I’ve registered everything, by looking through my wallet for receipts and logging into my checkings accounts. My savings account I’ll check just once a week as I know that currently only has 2 movements a month: when I get my interest and when my automatic transfer gets in. In this way I know I am least likely to miss out on any. I have a reminder in my bullet journey to make sure I do this every evening.
Who
My husband is sooo not going to register his expenses so I know there’s no point insisting. He has his own individual accounts that he is of course responsible for so I won’t get involved in that or ask him to track his expenses, but for our joint accounts I will keep track of things. Where possible I’ll ask him to pass on receipts but I’ll probably just log into our account daily to check what’s happened and to ask him in the moment if I need to know more about a particular expense.
How
I have tried different options to log my expenses and I have in the end decided to go for YNAB – short for You Need A Budget. I love it as it is a relatively easy to use programme and it also has several more advanced features that you can decide to start looking into more once you get the hang of the programme. YNAB can be used both online on your computer as well as by downloading its app and that for me is a key necessity as I’d like to be able to insert expenses both on to go in the moment as well as when I am sat at my desk.
Of course if you’d rather stick with paper and pen option that is no problem either and the advantage there is of course that you don’t need any type of technology to keep up your new habit.
Other alternatives include using a digital programme such as Microsoft Excel or Mac’s Numbers to track your money as well as other apps widely available – just search for them and see which one you like best.
Why
My own main why is that I want to gain insight into my spending pattern so I can identify where I can save money in order to boost my savings for long-term goals I have, the most obvious one being reaching Financial Independence of course.
These are my own 5 key strategies to tracking my expenses. If you aren’t already tracking your own expenses, make sure to start today and read up about it in the detailed explanation in step 3: Track Your Expenses.